A manicure that chips on day three rarely failed at the polish stage. It failed earlier, at the sink, at the cuticle, or in the ten minutes when the nail plate was still holding oils and moisture. Polish needs a dry, clean, slightly roughened surface. Give it a smooth, oily one and it will lift at the edges no matter how good the bottle is. That is the unglamorous answer behind most early chips at home and, less often, in salons around Mooresville.
At T & P Nails, prep is the quiet part of the appointment clients barely notice: pushing cuticle back, cleaning the plate, dehydrating, then base coat. Skip any of it and the clock starts ticking early.
What is actually happening when polish lifts
Cuticle is the main culprit people miss. The visible flap at the base is only part of it. A thin, nearly invisible layer of skin grows forward onto the nail plate. Polish laid over that layer is bonded to skin, not nail, and skin sheds. The edge lifts, water gets under it during handwashing and dishes, and the chip follows. Oils do the same job faster. Hand lotion, cuticle oil applied before polish instead of after, cooking oils, and even the natural oil on fingertips transferred by touching your nails all break the bond.
The cost of skipping prep, step by step
Neglect here is not dramatic. It is a chain of small shortcuts, and each one shortens the manicure. Soak the nails too long before polish and the plate absorbs water and expands; as it dries and shrinks, the hardened polish on top cracks at the stress points. Rush the base coat onto a damp plate and adhesion drops from the start. Apply color thick to save time and the surface dries while the layer underneath stays soft, so a bump against a counter dents and peels instead of glancing off.
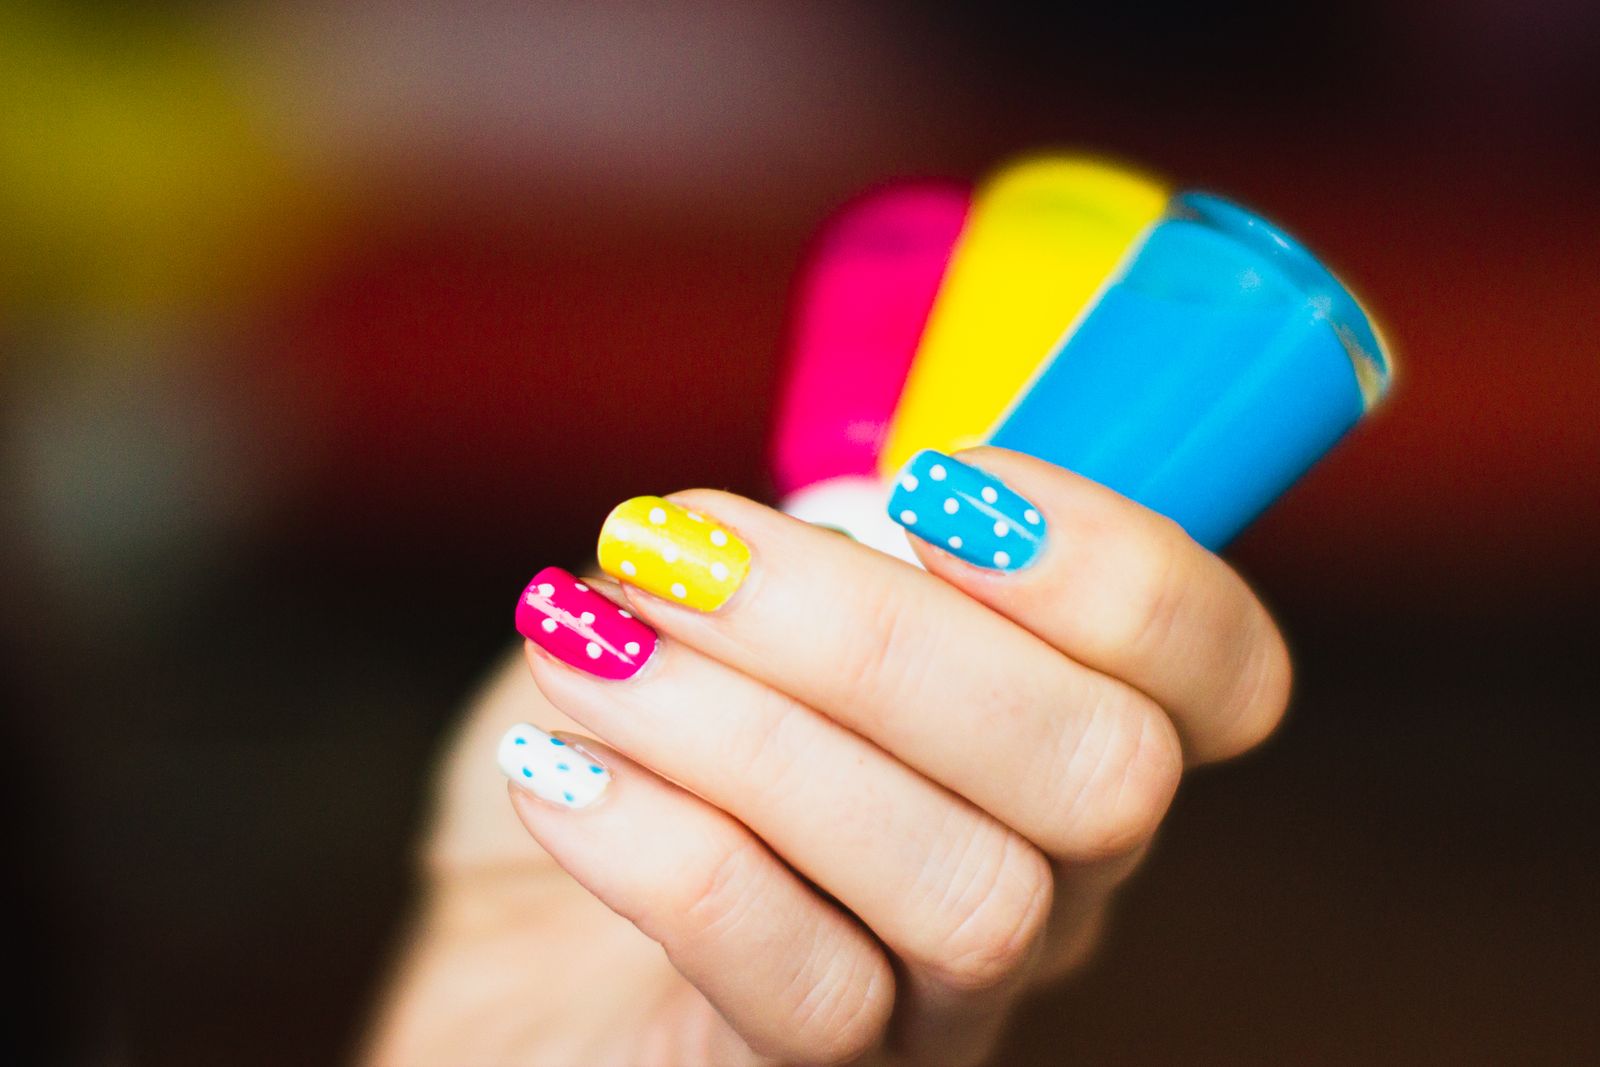
After the appointment, habits finish the job. Hot showers and long dish sessions soften polish and swell the nail. Using nails as openers concentrates force at the tip, exactly where the seal matters most. The fix that actually extends wear is boring: cap the free edge with topcoat, meaning run the brush along the tip so the edge is sealed, and refresh that topcoat every few days at home. Two minutes, twice a week, buys more wear than any premium color.
Salon prep vs. home prep
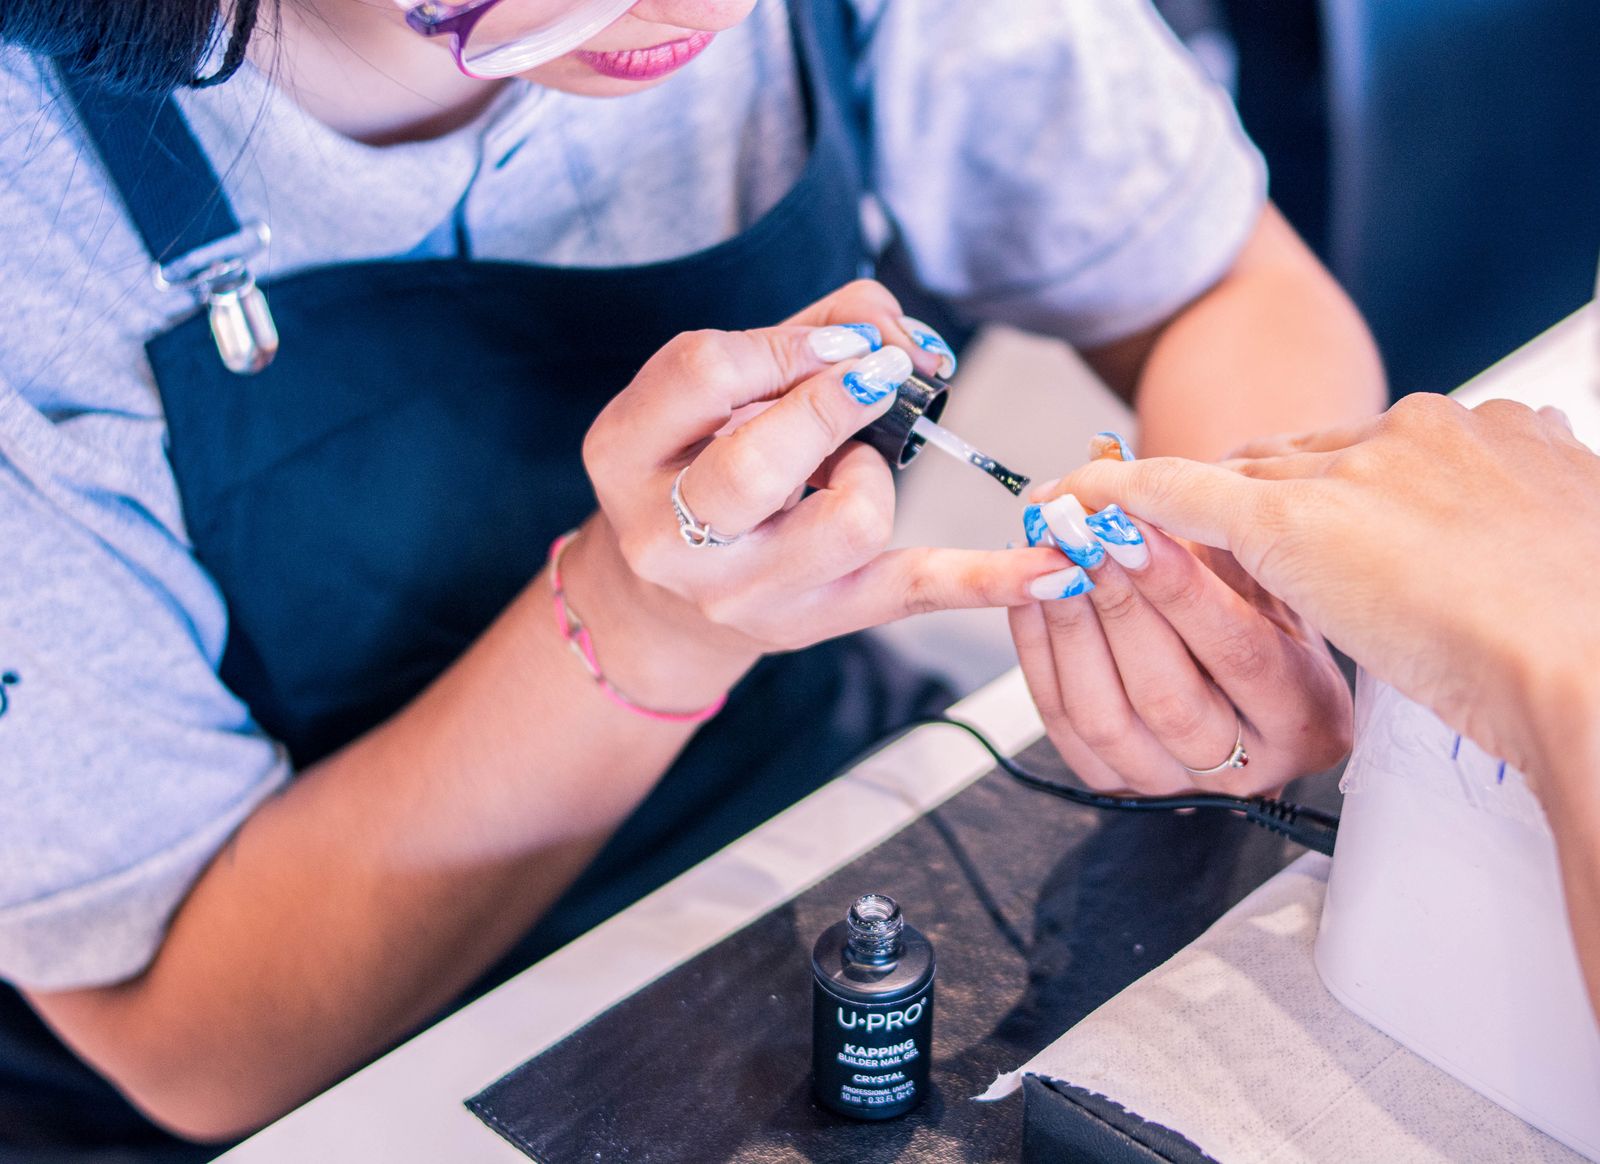
A salon manicure, gel, or shellac service includes steps home polishers often skip: cuticle work, a dehydrator or careful alcohol wipe, and thin, even coats cured or dried fully between layers. Gel that chips in the first days usually traces back to cuticle left on the plate or product flooded onto the skin at the edges, which lifts as it cures. Regular polish that chips has usually met water, oil, or a thick coat. If your polish fails early in the same spot every time, look at that nail closely under good light. A ridge, a peeling layer, or leftover skin at one corner explains more than the brand on the bottle does.
Peeling natural nails deserve a mention. When the plate itself splits into layers, polish bonds to the top layer and leaves with it. No prep fixes a peeling plate; the answer is shorter length, gentle filing in one direction, and a rest from harsh removers while the damaged section grows out. Fingernails grow slowly, roughly a few millimeters a month, so patience is part of that plan. One practical test helps at home: if you can smell lotion on your hands or see shine on the nail plate, the surface is not ready for polish yet, and another careful wipe will do more for wear than another coat of color ever will.
Common questions
Why does my polish chip on the same nail every time?
Usually a local cause: leftover cuticle, a ridge, or a peeling layer on that one nail. Inspect it under good light before blaming the polish brand.
Does topcoat really need refreshing?
Yes. Re-sealing the tip every few days closes the edge where water and knocks start lifting, and it is the cheapest way to extend a manicure.
Is gel chipping different from regular polish chipping?
The causes overlap, but gel usually fails from cuticle left on the plate or product cured onto the skin. Proper prep matters even more because gel is removed and redone as a set.
Photos in this guide are representative stock images.
← All guides from T & P Nails← Back to T & P Nails